Kokoda Wartime History
Explore information about the World War II history of the Kokoda Track.
SEARCH
Explore information about the World War II history of the Kokoda Track.
|
In addition to the Recommended Reading section we have attached our own summary of wartime information for you. As you trek along the Kokoda Track the events, locations and the deeds of those who fought will come to life as you see these locations in person. The history of the Kokoda Track during 1942 is nothing short of amazing.
The stories of individual efforts, of triumph and defeat are ones that are still helping to shape Australia’s identity. While the actual events along the Track will enthral all who walk it and paint a vivid picture for our generation, it is the stories behind the events, the motivations for action and inaction, on both sides of the conflict that provides the glue that brings all the events together and gives them some sort of sense. For an event without a context will be an event lost to history. On this page, we will examine what led up to the war, what motivated Japan to join it and what were they thinking coming to PNG. We will also examine what had happened to Australia’s armed forces before the war, why we were in such a precarious position and what was our state of mind as a nation during the war. Once we have examined these things, we will then go through events along the Track, including particular battles and examine the motivations and goals behind these. We will also highlight events and occasions away from the Track that would have affected events on it. It is through this examination, that you will be able to piece all the Kokoda stories together as a coherent and extremely interesting story. |
Andrew Flanagan - Expedition Guide
Hadyn Hewitt - Expedition Guide
|
Kokoda Campaign HistoryAustralia Between Wars
Economic good times followed the Great War, with massive technological and communications leaps and an amassing of material wealth the young Australian nation had never seen before. The golden twenties not only heralded a time of wealth but also an international ideology of pacifism and, as a consequence, disarmament. Why wouldn’t they? Europe had just gone through the Great War, the war to end all wars. They were weary from battle and believed there was a better way. It was during this period that the armament gap between the western powers and their would-be antagonists narrowed. Prime Minister Hughes put nearly half of the Navy’s ships out of commission, reduced the militia to 25% of its former self, and diminished the permanent army by discharging 72 officers. |
|
 PNG stretcher barers |
 Captured Japanese Cannon |
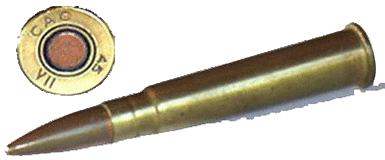 Lee-enfield 303 ammunition  39th Battalion |
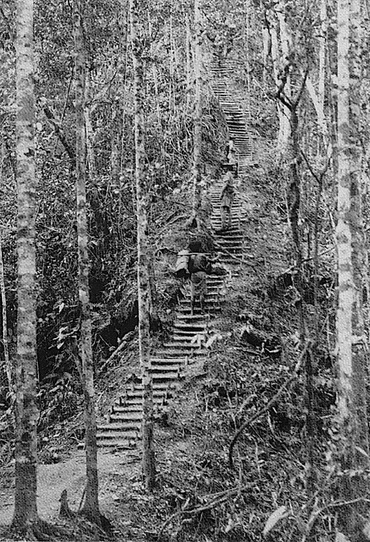 The Golden Staircase |
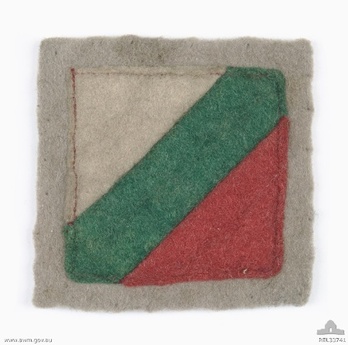 ANGU colour patch |
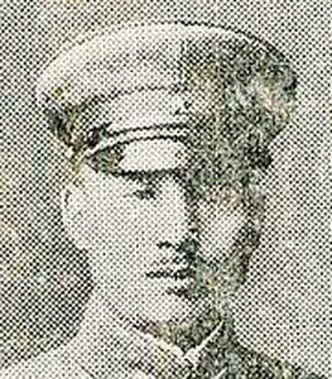
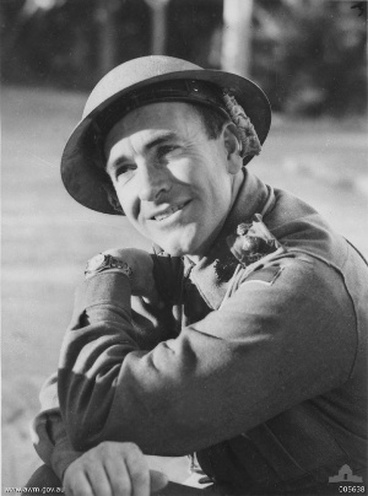 Ralph Honner |
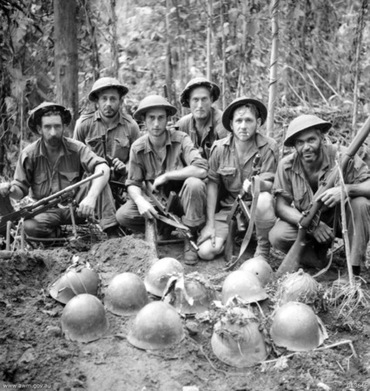 Japanese dead soldiers helmets |
 Japanese flag during battles |
 Rally point for carriers |
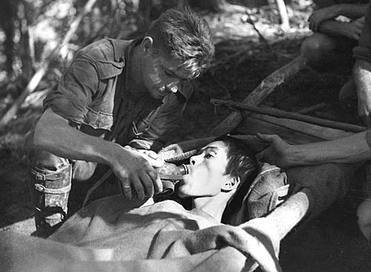
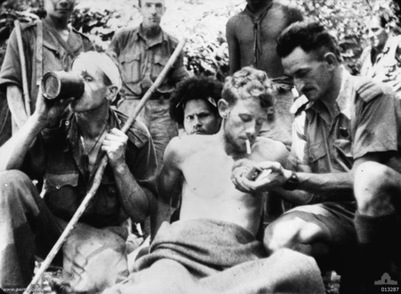 Comforting an injured soldier |
 Rations and tea were limited |
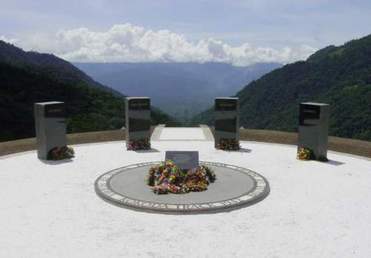 Isurava Memorial |
 Water crossing - a good one! |
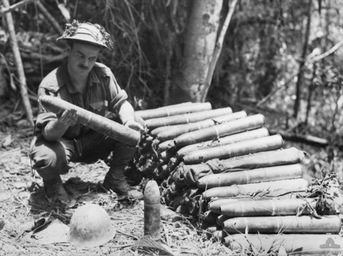 Inspecting rounds for Japanese cannon |
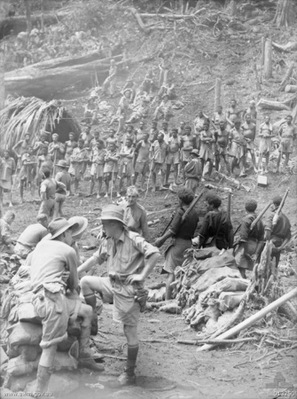
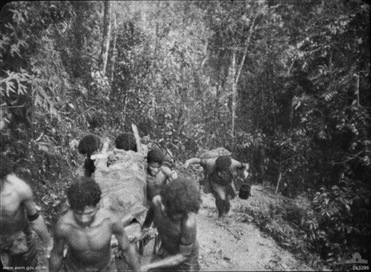 Carriers moving up a steep hill |
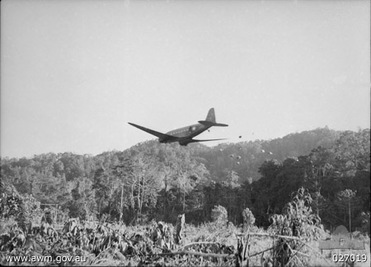 Air supply drops Myola Lakes |
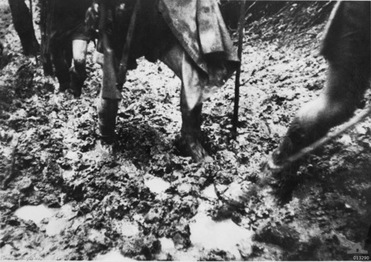 Weeks and weeks of heavy rain! |
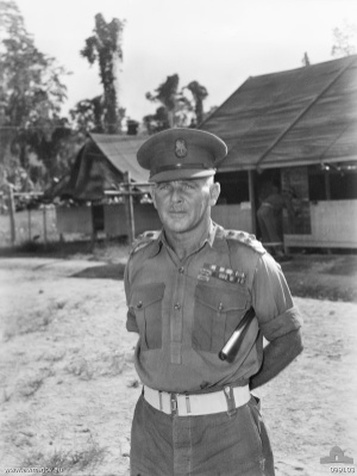
 George Vasey |
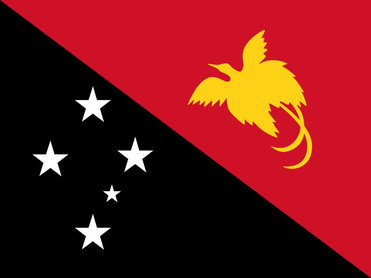 Papua New Guinea flag |
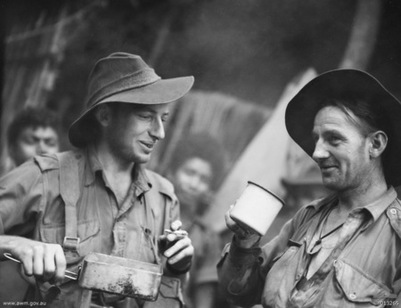
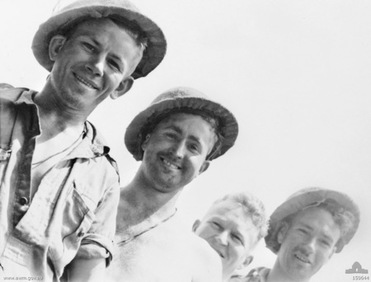
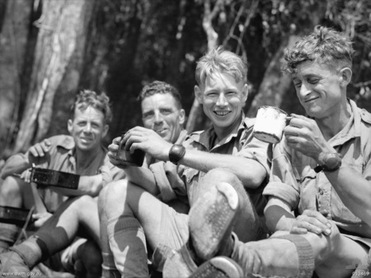 Mates |
 Japanese soldier receiving water |
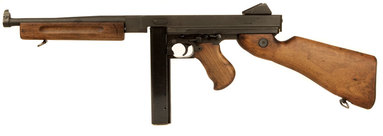 Thompson sub-machine gun |
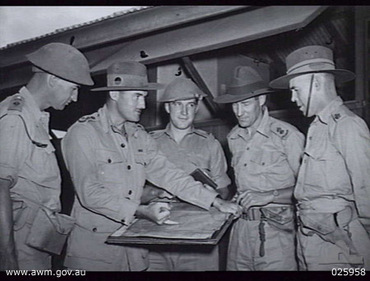 39th Battalion planning |
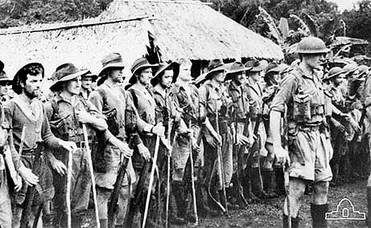 39th Battalion on parade |
 Arnold Potts |
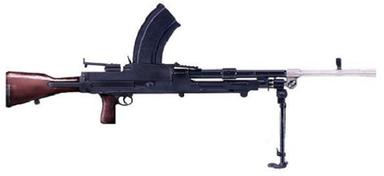 Bren machine gun |
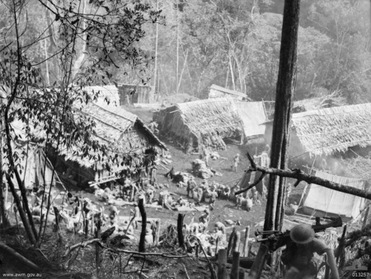 Village taken over by war |
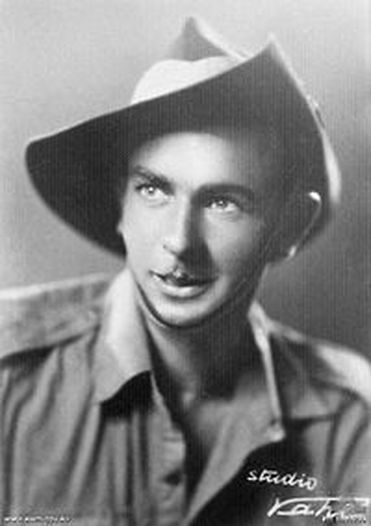
 Stan Bisset MC OAM MID |
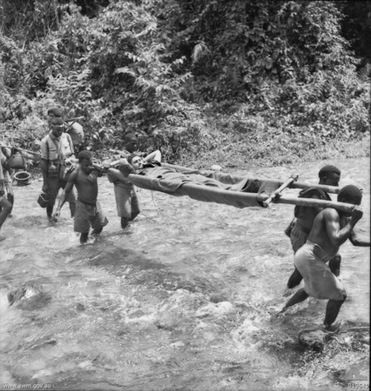
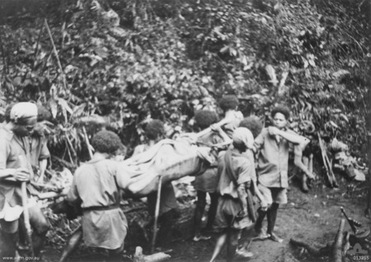 Carrying the injured in stretchers |
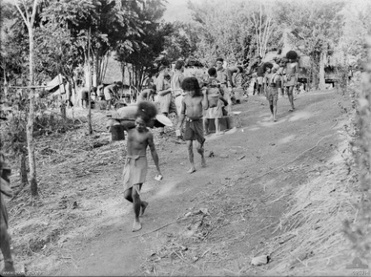 PNG carriers with supplies |
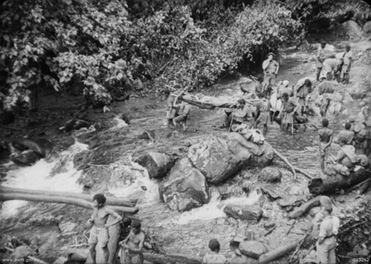 Crossing creek with injured |
 Japanese General Horii |
 Bruce Kingsbury |
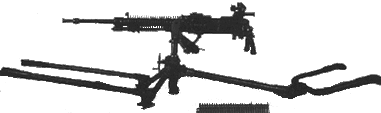 Japanese Type 92 machine gun |
 Always looking after your mates |
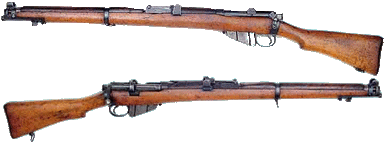 Lee-enfield Mk III rifle |
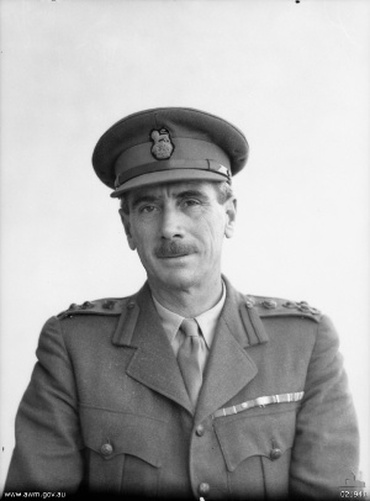
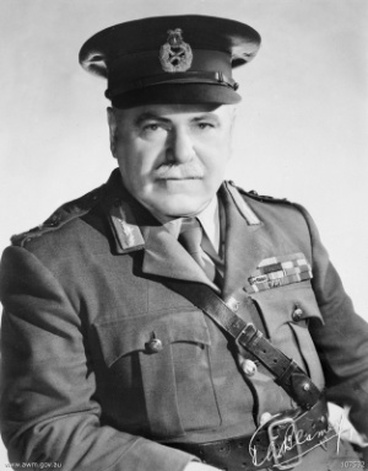 Sir Thomas Blamey |
 |
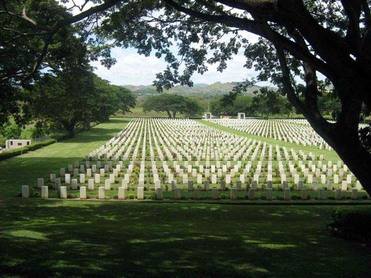 Bomana War Cemetery |
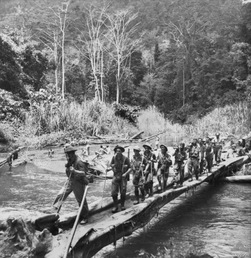
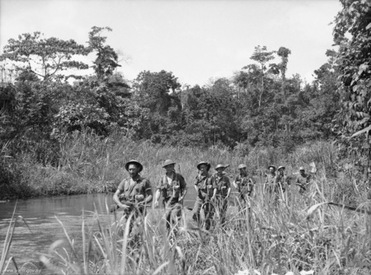 Patrol along the side of a river |