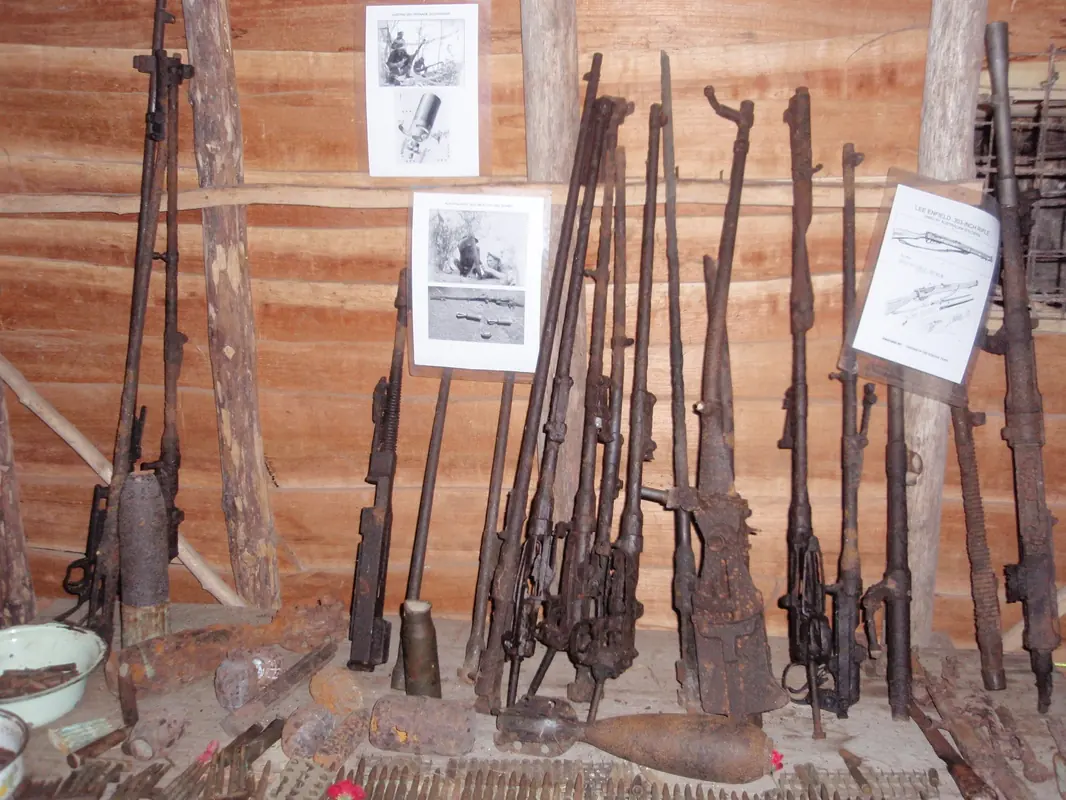
The Japanese advance
A handful of militia, a Papuan infantry battalion and the carriers who kept them alive were pushed steadily back up the Track, trading ground for time until they could be reinforced.
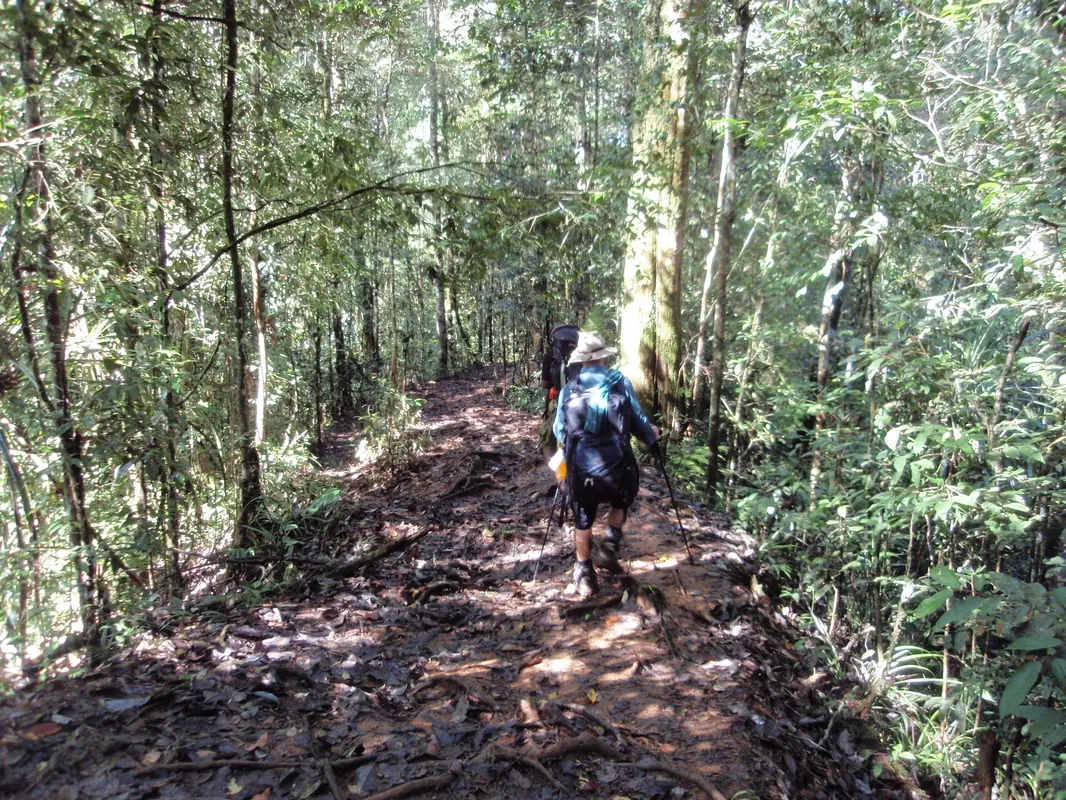
Maroubra Force sets out
The 39th Battalion (a Militia unit from Victoria) and the Papuan Infantry Battalion are formed into Maroubra Force, tasked with protecting the Kokoda airstrip and delaying any advance from the northern beaches towards Port Moresby. They begin the march along the Track.
B Company reaches Kokoda
Captain Sam Templeton's B Company arrives, exhausted after seven days on the Track. They set up defensive positions and spend a week training and patrolling around the plateau.
The Japanese land at Gona and Buna
An invasion force from Rabaul arrives off the north coast and lands unopposed. Nine hundred infantry are ashore by the next dawn, with more to follow. Australian observers slip away to report the landing.
First clash at Awala
Papuan Infantry Battalion troops under Major William Watson meet the Japanese, are forced back, and cross the Kumusi River, destroying the footbridge behind them. Reinforced by a platoon of the 39th, they are driven back again.
First battle for Kokoda
At Oivi, Captain Templeton disappears and is never seen again. Lance Corporal Sanopa of the Papuan Infantry Battalion leads troops through the Japanese lines along a creek to Deniki. Lieutenant Colonel William Owen retakes Kokoda and calls for reinforcements, but the airstrip is lost when planes refuse to land. At 2 am on 29 July the Japanese attack through fog and Owen is shot dead. The Australians fall back to Deniki.
Second battle for Kokoda
Major Allan Cameron sends three companies out from Deniki to retake Kokoda. They are poorly informed about a much larger Japanese force. A Company reaches Kokoda unopposed, but with the other companies pinned down, the plateau is abandoned by 10 August and the 39th returns to Deniki in disarray.
Battle for Deniki
From the high ground at Deniki, which overlooks Kokoda and the Yodda Valley, Maroubra Force watches the Japanese prepare. The attacks begin on 12 August and by the 13th the depleted units pull back to Isurava. On 16 August Lieutenant Colonel Ralph Honner, a schoolmaster turned lawyer and a veteran of Libya, Greece and Crete, takes command with orders to hold north of the ranges until the 21st Brigade arrives.
Battle for Isurava
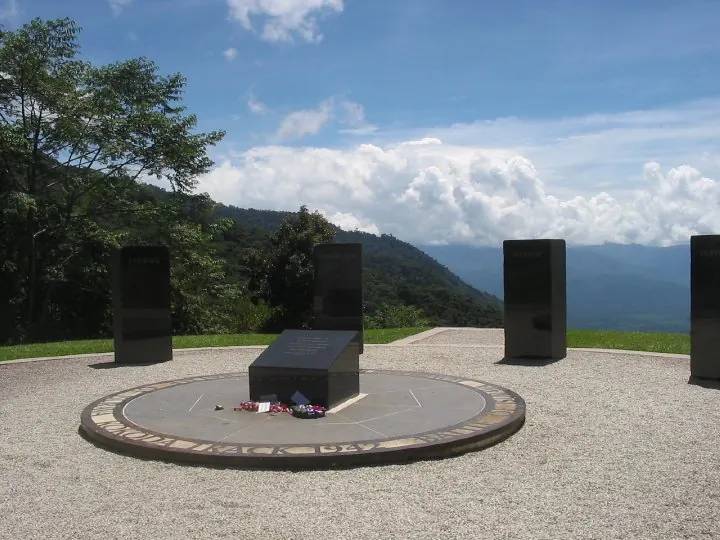
About 2,500 Japanese attack some 400 militia from the 39th, with elements of the 49th and 53rd. The AIF's 2/14th Battalion arrives to relieve them and fights alongside, with the 2/16th brought up to plug a gap. Over four violent days, outnumbered Australians are slowly squeezed. Private Bruce Kingsbury of the 2/14th charges with a Bren gun from the hip and is killed; he is awarded the Victoria Cross. The force withdraws, and the 39th and 53rd are sent back to rest.
Withdrawal to Eora Creek
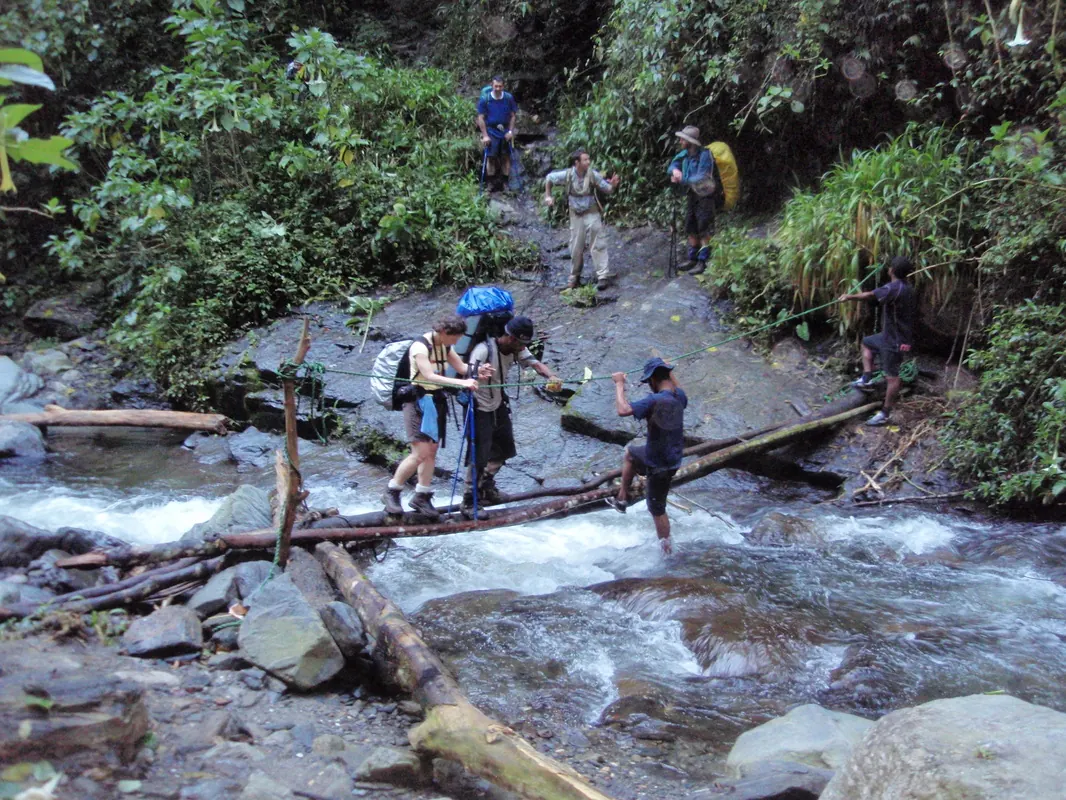
The Australians dig in south of the fast-flowing creek, but the Japanese cross after dark and threaten to outflank them, so they fall back again at dawn.
Withdrawal to Templeton's Crossing
Brigadier Arnold Potts' brigade is worn out after a week of constant fighting without a hot meal, their feet pulpy from the constant wet. He decides no position can be held without heavy reinforcement, and the withdrawal continues down the Track.
Myola abandoned
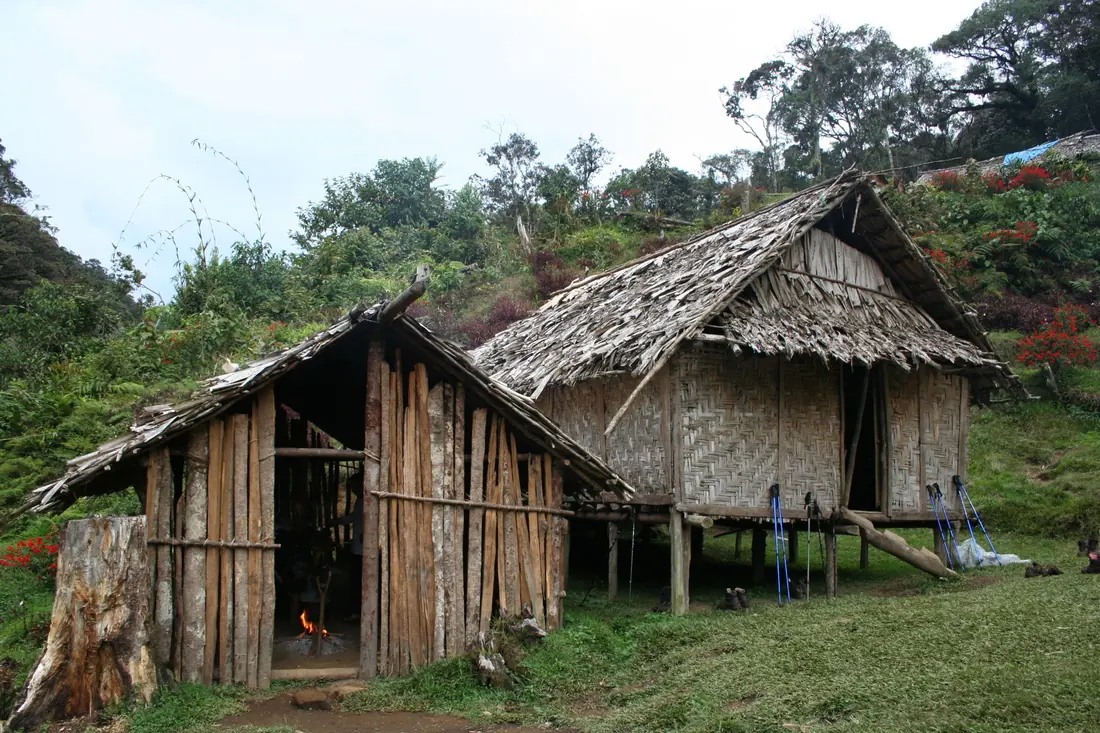
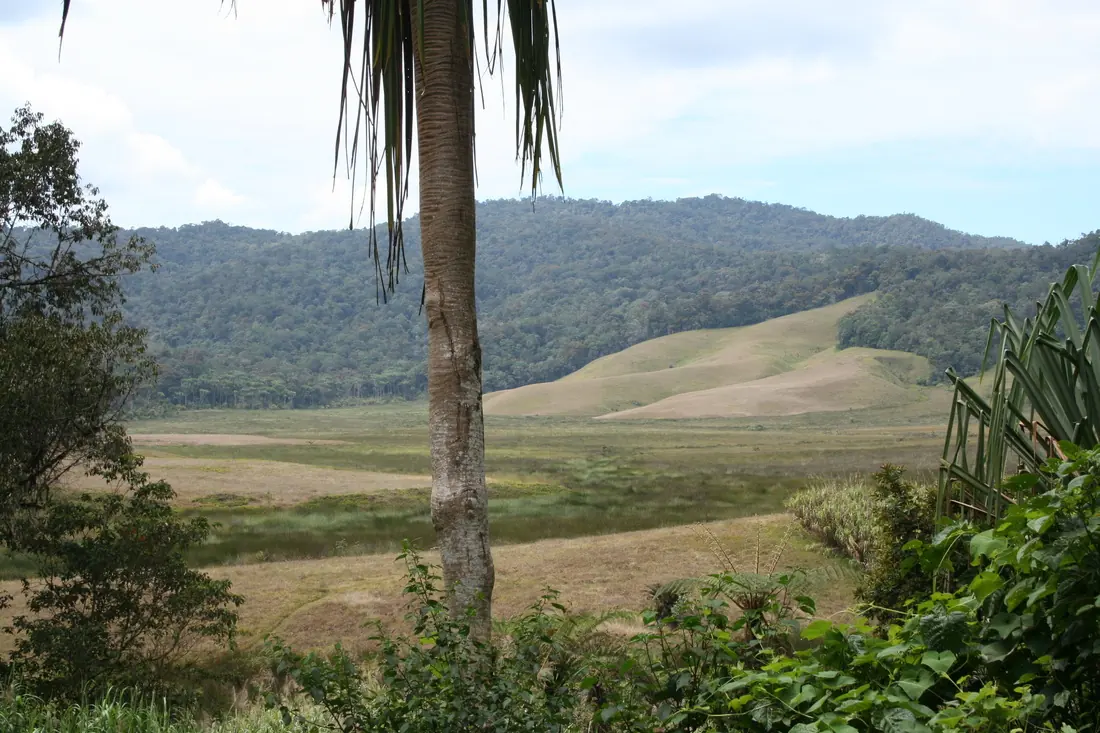
Lieutenant Herbert Kienzle had found the dry lake beds of Myola in early August and turned them into a supply depot for air drops. The exhausted brigade gets a hot meal and clean clothes there, then the stores are destroyed or removed and the Australians leave through the mud and rain towards Kagi and Efogi.
The parade at Menari
At Menari, Honner thanks the ragged remnants of the 39th, whose strength has fallen from 470 to 180 in five weeks, leaning on sticks instead of rifles. Cinematographer Damien Parer films them as they are, "ragged bloody heroes", in one of the most enduring images of the campaign.
Mission Ridge and Kagi
At Kagi the three AIF battalions of the 21st Brigade finally fight together. The fresh 2/27th is posted forward on Mission Ridge, and the 2/14th and 2/16th take the high ground at Brigade Hill. After dark the Japanese come down the valley, lit by smouldering lengths of captured signal wire.
Battle for Brigade Hill
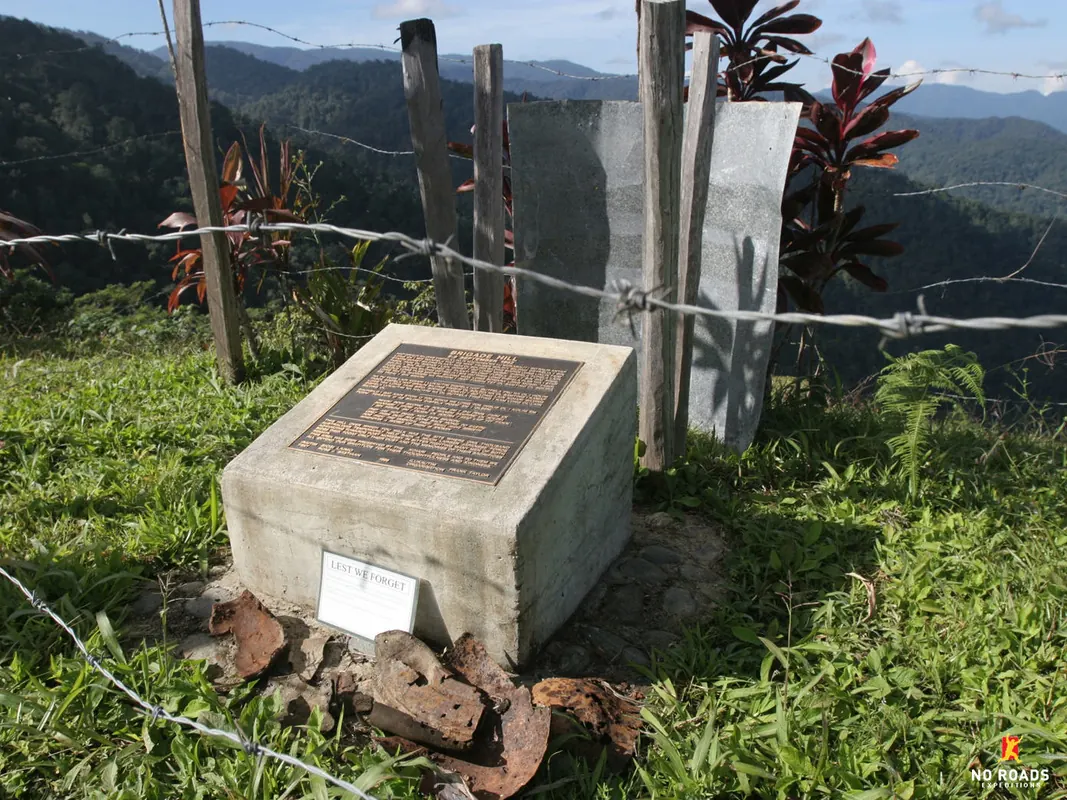
While the Japanese pin the front, a battalion circles through the jungle and cuts the Track behind the Australians, between the infantry and brigade headquarters. Counter-attacks by Captains Claude Nye and Brenton Langridge, with bayonets fixed, fail against dug-in positions and both officers die. By nightfall headquarters withdraws to Menari. 62 Australians lost their lives.
Cut off, and out through the jungle
With communications lost, Lieutenant Colonel Caro takes command north of the Japanese and leaves the Track. The 2/14th and 2/16th cut a roundabout route through the jungle carrying their wounded, and the 2/27th follows with fifteen stretcher cases, rejoining the Australian lines at Menari and beyond.
Battle of Ioribaiwa
The Australians fall back over the Maguli Range to Ioribaiwa Ridge, two ridges from the end of the Owen Stanley Range, where the fresh 25th Brigade under Brigadier Ken Eather takes over, with Vickers machine guns and mortars. The depleted 21st Brigade fights on as a composite force.
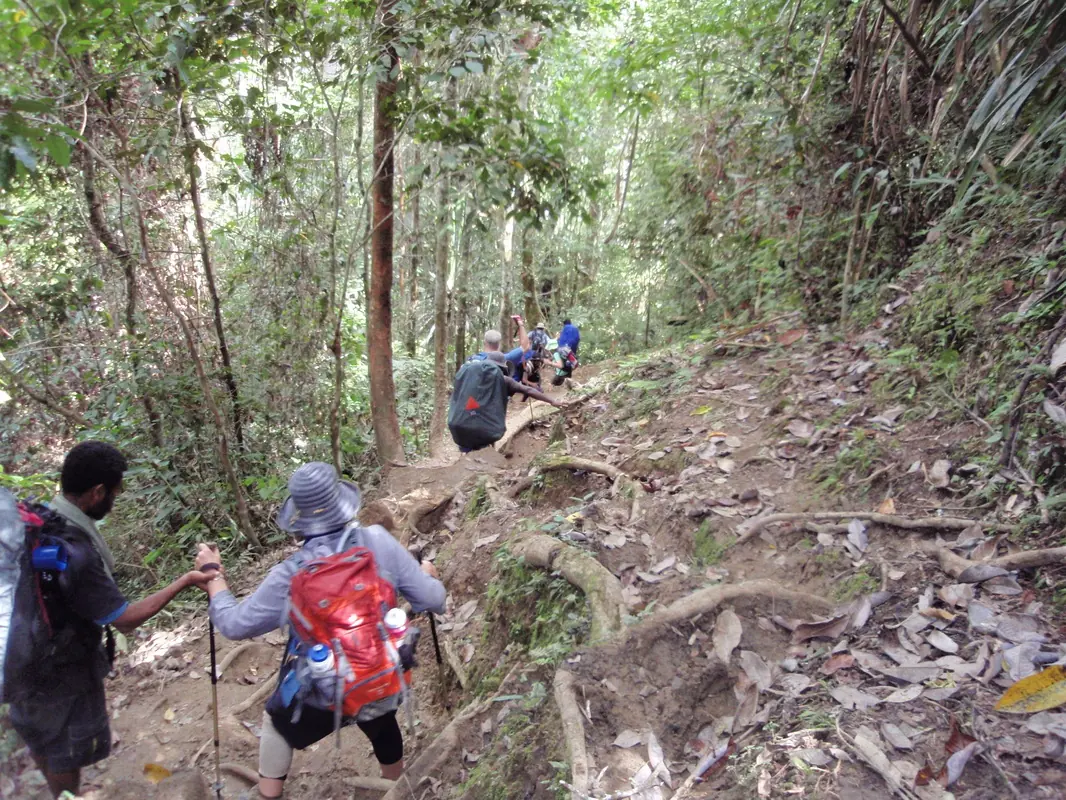
Withdrawal to Imita Ridge
Eather asks to pull back to Imita Ridge, where artillery can reach the Japanese and supply lines are short. He is told it is the last stand. That night the Japanese on Ioribaiwa see what they believe are the lights of Port Moresby. They have outrun their supplies and are hungry, sick and exhausted.